Finding wall framing, often called wall stud or metal furring locally, is crucial for securely hanging TVs, shelves, cabinets, or other heavy items. Here are a few methods to locate your framing, both with and without a stud finder:
Methods Without a Stud Finder:
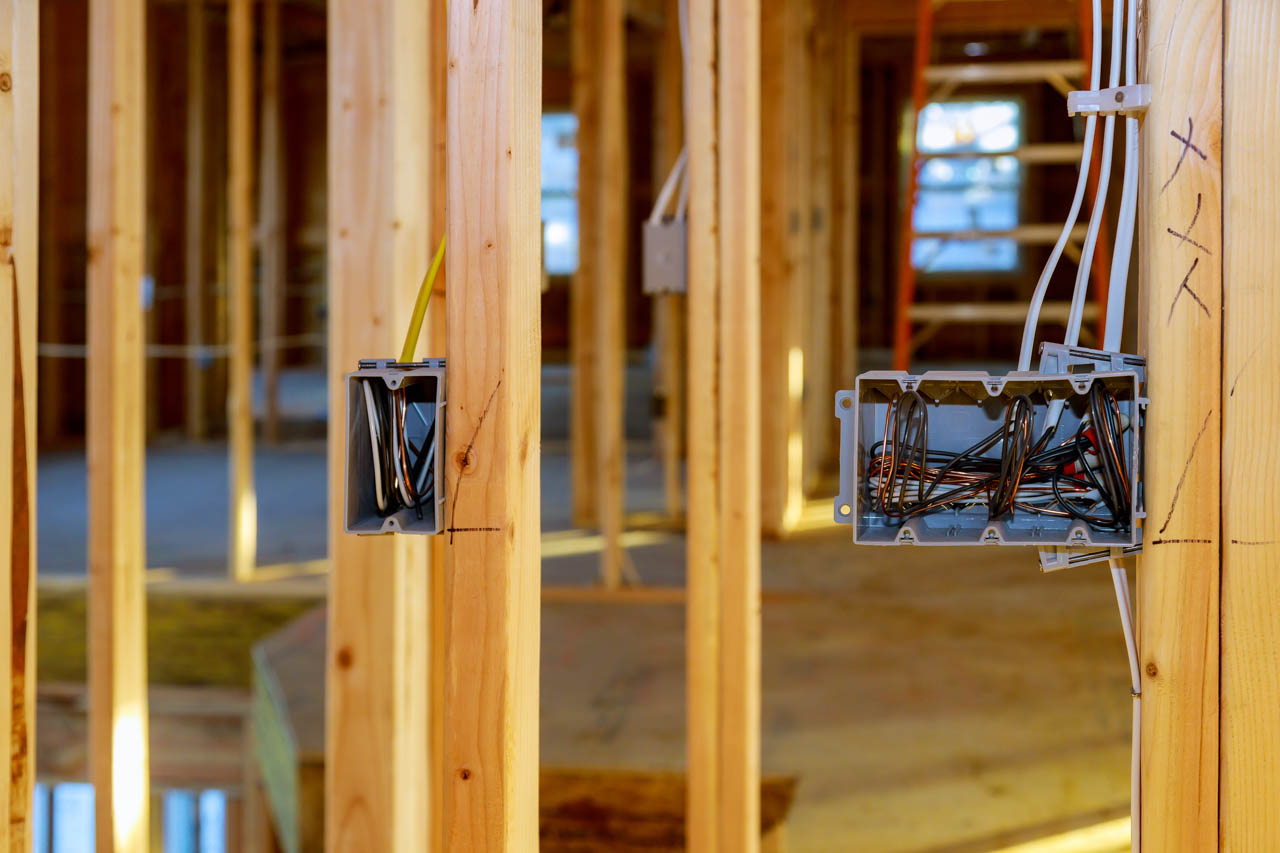
Look for Clues: Electrical outlets and switches are typically mounted to a framing material. Find an outlet and measure 16 inches to either side—this is a common stud spacing, though it can vary. Although this is not a guarantee that the next framing will be located there, using this measurement is a good starting point.

Knock on the Wall: Gently tap on the wall with your knuckles. A hollow sound indicates empty space, while a solid thud suggests a stud. Move along the wall, tapping as you go, to locate studs.
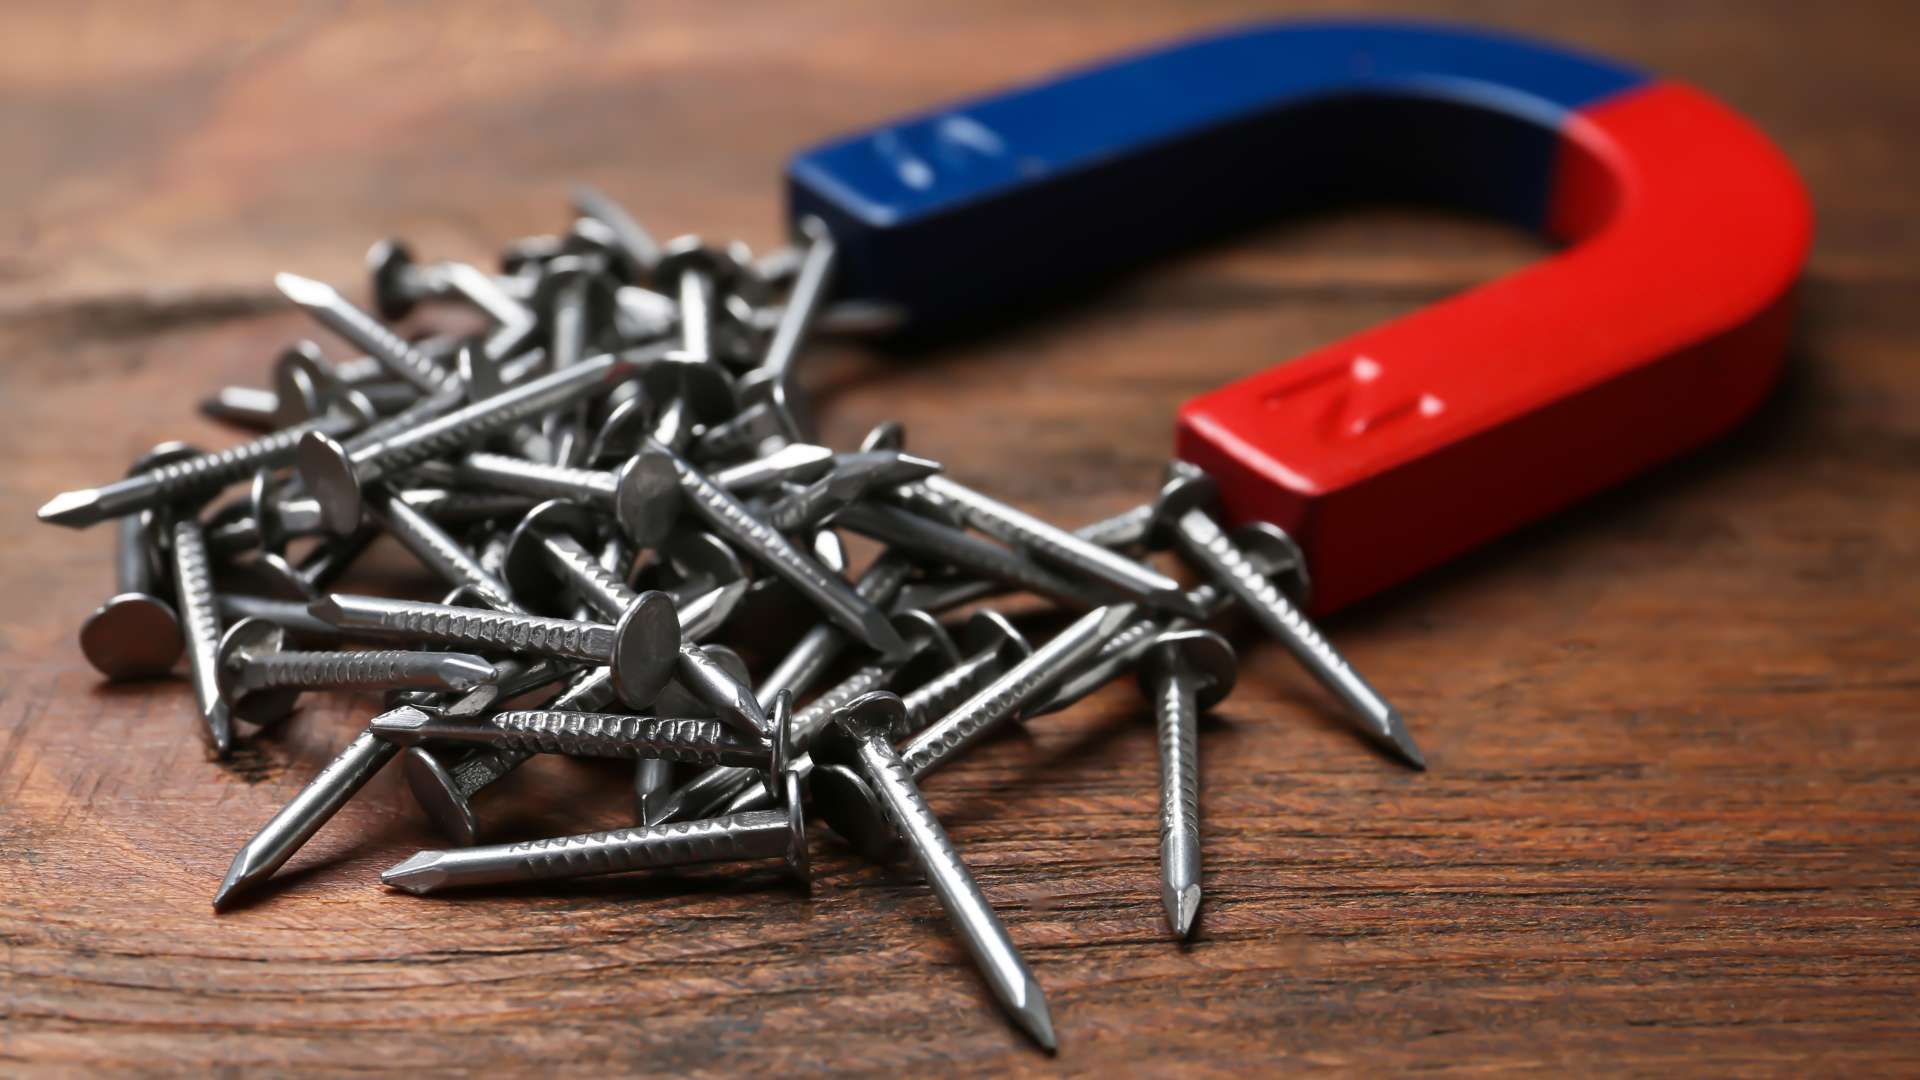
Use a Magnet: A strong magnet can detect the nails or screws securing the drywall to the studs. Slowly drag the magnet across the wall. If it sticks, you’ve likely found a stud.
Using an Electronic Stud Finder:
Step 1: Determine the Height
Determine the desired height for locating the stud, based on the mounting height of the object you’ll be hanging.
Step 2: Calibrate the Stud Finder
Calibrate the stud finder (if necessary). Generally, this involves placing the device on a section of wall known to be free of studs and activating it. The device will indicate successful calibration or prompt you to reposition it. Consult the manufacturer’s instructions for specific calibration procedures.
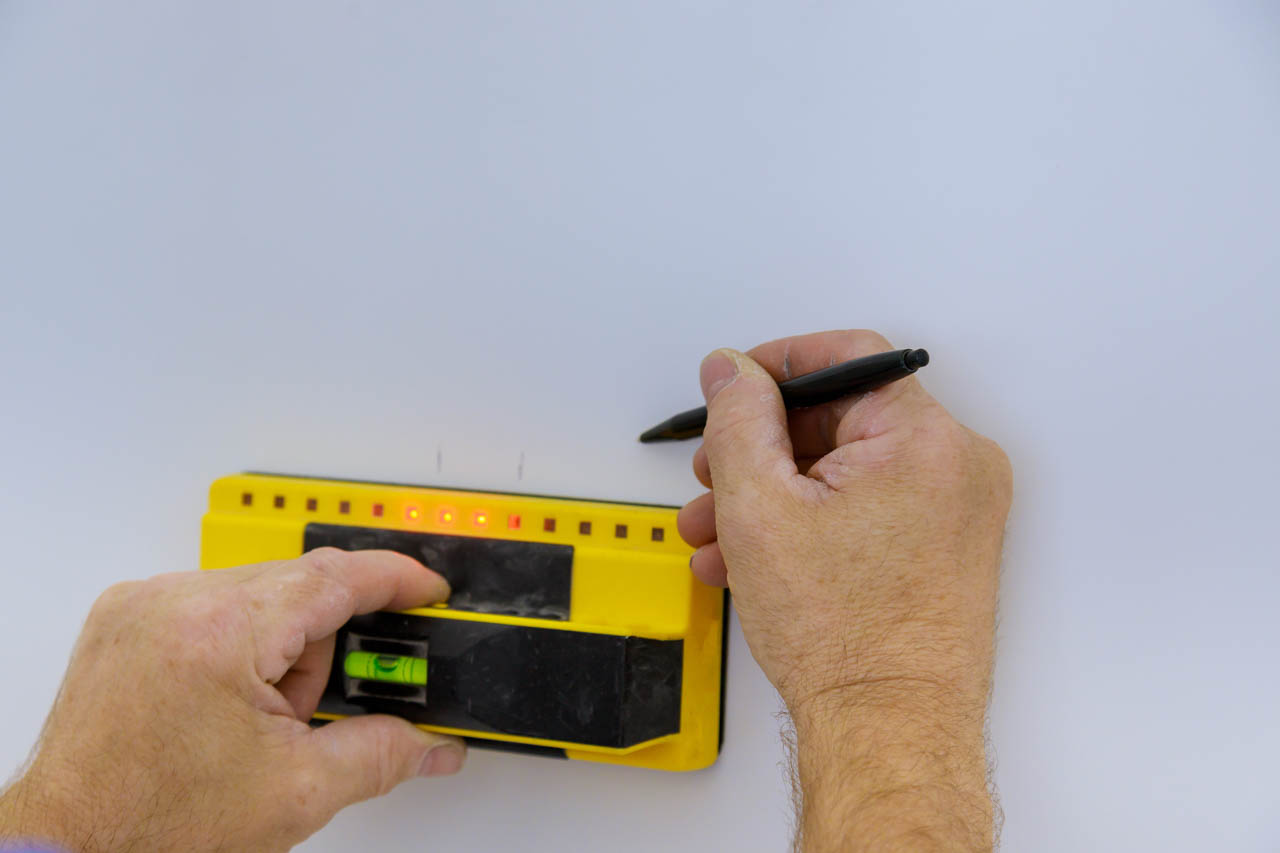
Step 3: Locate and Mark the Studs
Hold the stud finder against the wall at your determined height and move it slowly across the surface.
Edge-Finding Model: This type of stud finder signals when it detects the edge of a stud. Mark this location with painter’s tape. If necessary, recalibrate the device. Move the stud finder back toward the mark from the opposite direction to find and mark the other edge of the stud. The two marks should be about 1.5 inches apart. The midpoint between these marks is the center of the stud.
Center-Sensing Model: This type of stud finder simplifies the process by signaling directly when it detects the center of a stud, allowing you to mark it immediately.
Step 4: Confirm Stud Location
To verify you’ve located a stud, find several points along the suspected stud and locate adjacent studs using the same method. This helps confirm you’ve found a stud and not something else, like a pipe or wiring.
Important Note: These methods are not always foolproof, and stud spacing can vary. If you’re unsure of a stud’s location, it’s always best to err on the side of caution and drill a small pilot hole to check before hanging anything heavy.
Want to minimize guess work and invest on a stud finder? Here’s our top three picks for budget-friendly Electronic Stud Finder
(Brand 1)
(Brand 2)
(Brand 3)